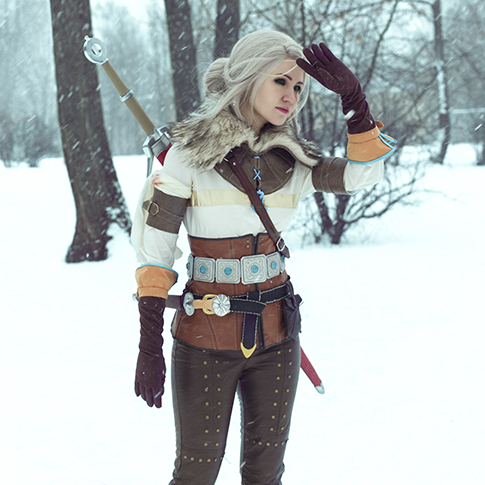
The Witcher 3. Ciri’s costume creation. Part 2
Other Costume Pieces
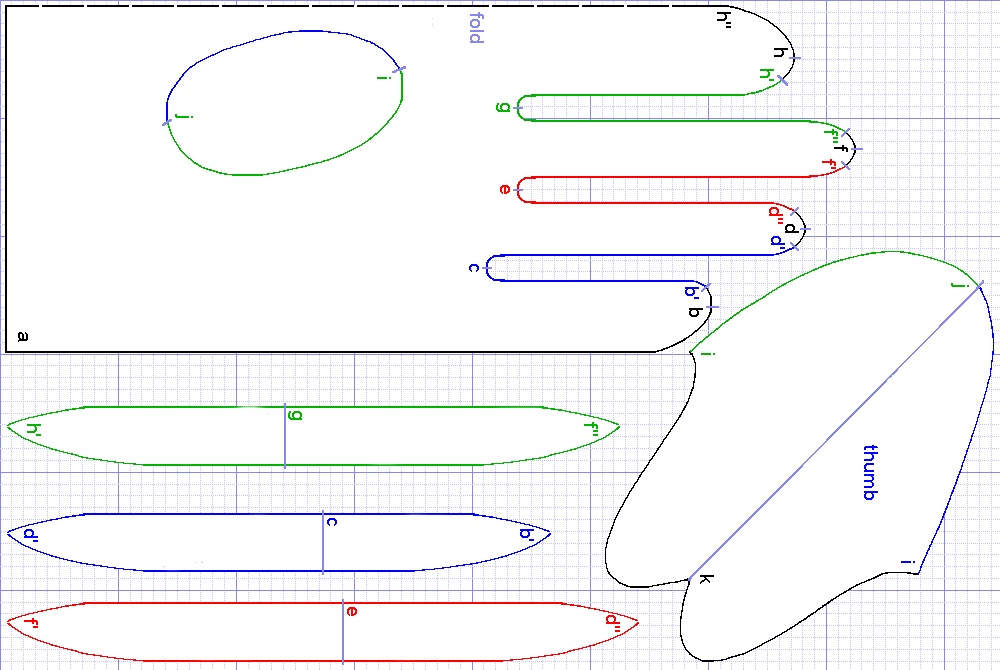
Gloves
The gloves were entirely made of suede, the only exception was the faux leather edge strip.

I used the standard pattern and scaled it to the desired length. I attached the flared cuffs to the glove bodies, sewing them in two layers so that the cuffs would have the right side facing both outside and inside. In the picture below you can see the approximate pattern design for the cuffs.

I then sewed a blue leather bias tape around the contours (in fact, I couldn’t find a blue tape and had to use a white one and paint it blue with acrylic paint).

There’s a strap attached to the joint between the orange and brown details made of the same suede as the gloves.
Leather bracelets
To be honest, I’ve no idea what to call these pieces =)
The ones that Ciri wears in the game have a distinctly thick and rigid look to them (some sort of saddle leather would be a perfect match). I didn’t have a suitable thick faux leather so I had to make it myself by taking a strip of linoleum and gluing pieces of faux leather on the face side – I think they came out just fine.

The finishing touch was a strap attached to the side, and voilà.

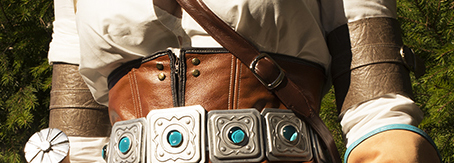
Belts
Metal belt
I believe this was the only costume piece that I was happy with from the very start and didn’t feel the need to improve or rework anything =)

The process is quite simple. All the details are made of PVC, the squares sized 5,5х5,5 and 4,5х4,5 cm are glued together (the central square is a bit larger, sized 6,5х,6х5 and 5,5х5,5 cm respectively). Each square has beveled edges (at 5 mm from the edge).
Later, I primed and painted all the workpieces.
The designs were made with acrylic liner, but they can just as well be molded using worbla or cut from Eva-foam.

The stones are decorative transparent glass stones with a coloured bottom. If you take some time and look for them, you may find the right shape and color you need, but I didn’t find what I was looking for and used the materials at hand.
I also used silver faux leather to make a 3 cm-wide belt with velcro fasteners on the ends – which, I think, is the most practical fastener for such kind of belt. Then I just glued the squares to the belt body. By the way, to calculate the necessary number of squares, you have to divide the waist circumference by 5,5 (make sure you do it while wearing the corset).
Leather belt
I’m planning to refashion the belt, but haven’t gotten down to it yet.

I took faux leather and I hemmed with a decorative hand stitch using a thick thread. The designs were burned into the piece with a soldering iron, but since it was faux leather they turned out to be quite ill defined. If I’d applied too much power, I’d have burned the leather all the way through. You wouldn’t have so much trouble using real leather to make a belt, so I recommend choosing that option instead (unless you are against those things).
The tip was made of two PVC plates with the belt inserted in between.
The belt has to be long enough to wrap itself around the hips and still have enough length for a ‘knot’.
The Bags
The Rear Bag
I’ll try to upload the sewing pattern in the nearest time possible. And now I’ll just walk you through the making process.

The pieces are glued together, not sewn. Machine stitching was used in purely decorative purposes, on the clasp snap and the strap.

Take note that the front wall is decorated with a leather cord. I didn’t manage to get all that done in time for the photoshoot, so I had to do without the cord =) You just make small cuts in leather and thread a cord through them – it’s as simple as that (what’s important is that you don’t hold off making all this until the very last minute).
The Frontside Bag
This bag is quite simple in its design as well.

Just like in the rear bag above, the clasp snap here is also a continuation of the back wall. There are small pieces of leather cord sewn at the bottom angles in between the front and the back panels. Two cords are sewn to the front side and are threaded through the clasp snap via the opening made by setting the grommet. The strap that attaches it to the belt is decorated with a stitching and a snap fastener.
That’s all!
I hope you found this information useful.
P.S. Almost forgot, I made Ciri’s canonical bra as well XD I took a bra with a suitable cup shape and sewed it up with cotton fabric (the same one I used for the first version of the blouse), cut the original straps off and attached the cords in their place. Just like Ciri:

Well, I must admit that the artist who created this disaster of a bra design knows less than nothing about ladies’ underwear! XDD It’s simply impossible to wear – the cord rubs and irritates the delicate skin. There’s no way you can go monster hunting and look for adventures when the only thing you can think about is taking your underwear off X)
If you have any comments or questions, you can leave them in the comment box below the text. Feel free to ask or comment!
Also you can find on my site:
Ciri photoshoot
Ciri’s sword
Ciri’s dagger
Ciri’s collar pattern
Comments