Create a cloak for new Jaina from World of Warcraft: Battle for Azeroth!
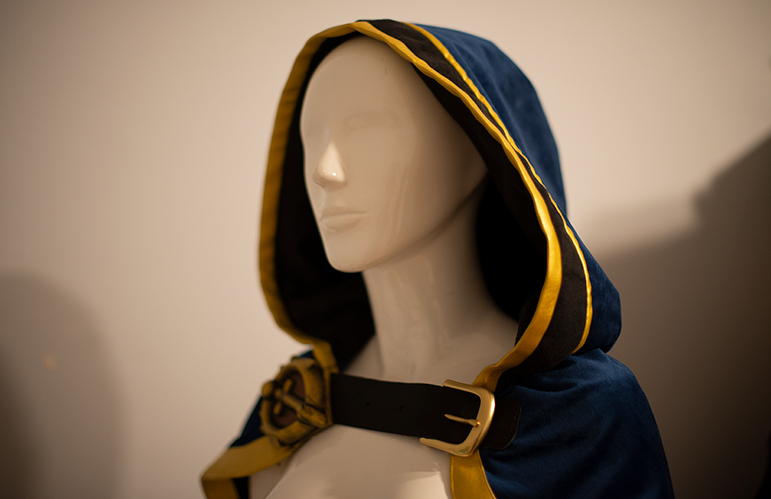
And again I feel that I am ready to create a pattern for you=)
Jaina has such incredible new model in last WoW expansion, I was really excited about to make cosplay on her.
I made it and visited my first foreign event – Gamescom, which was held in Cologne, Germany. That was really cool and fun.
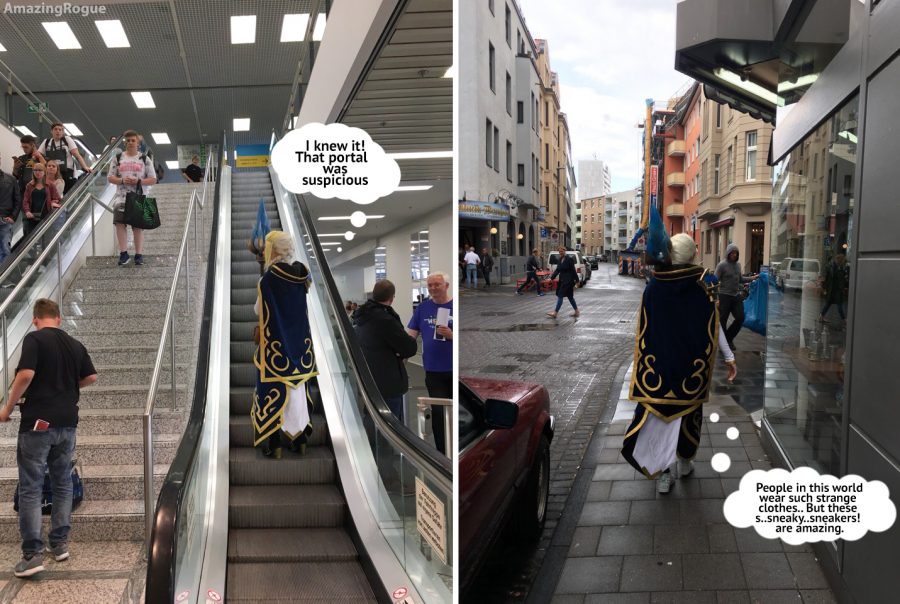
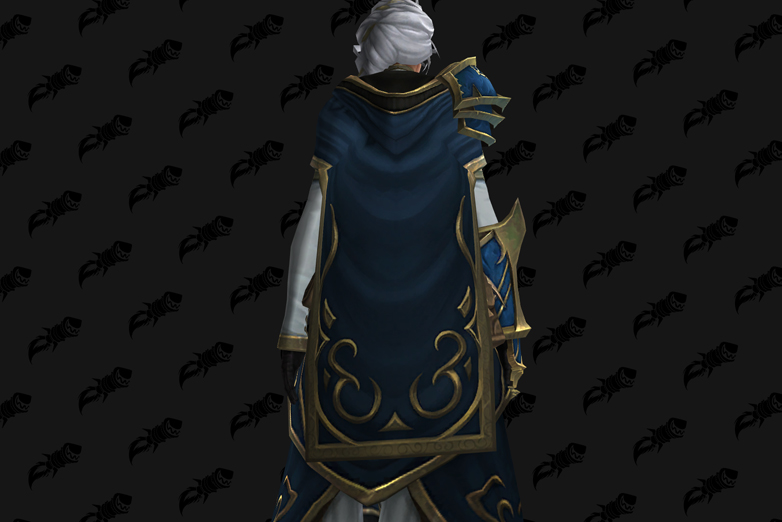
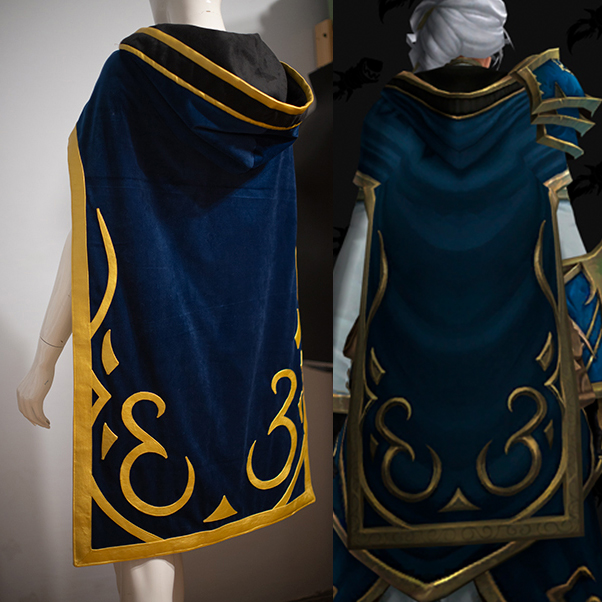
Cloak was one of the most difficult part of the costume. The problem is that the upper part of the cloak looks wide, but the bottom part is narrow.
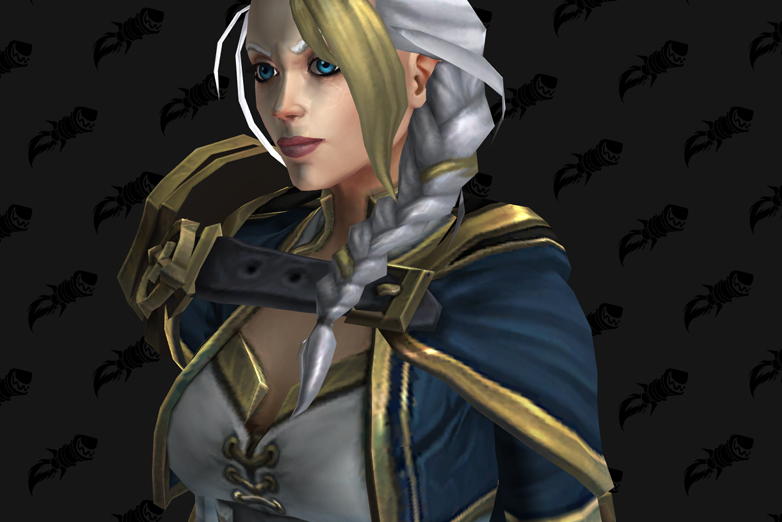
Even on the texture of the cloak we can see the folds (like the classic wide cape), but despite this behind Jaina is just narrow rectangle and flat smooth ornament on it. By the way, the same problem has the skirt too. I guess the real life Jaine would have wide waving cloak and skirt, but game graphics has its own rules.
Well, I’ve been racking my brain for days and finally create a pattern which allowed to make a cloak without seams on the shoulders.
You can donwnload it here: Jaina cloak pattern.
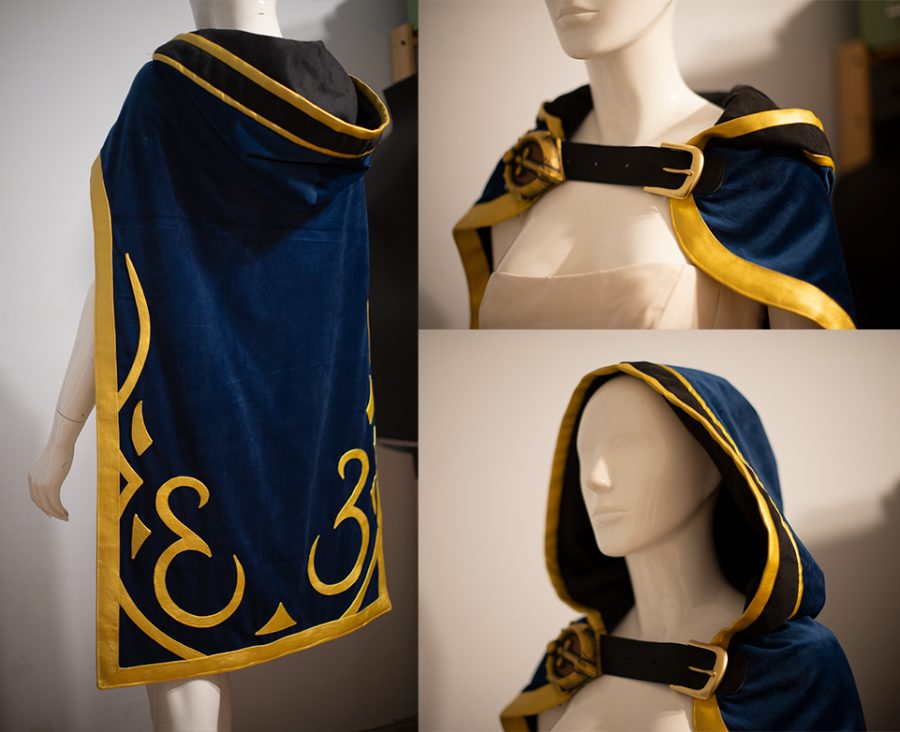
I used for this cloak 3 fabric types: blue velvet, black suede and golden fake leather.
If you will choose the velvet too, do not forget that the pile should always looks in one direction, otherwise details could have different shades.
Each detail of the pattern consist two pieces. Don’t forget to flip the second one.
At first I made hood, than cloak and only after that I joined them.
The hood consists of two parts: inside and outside. Blue and black.
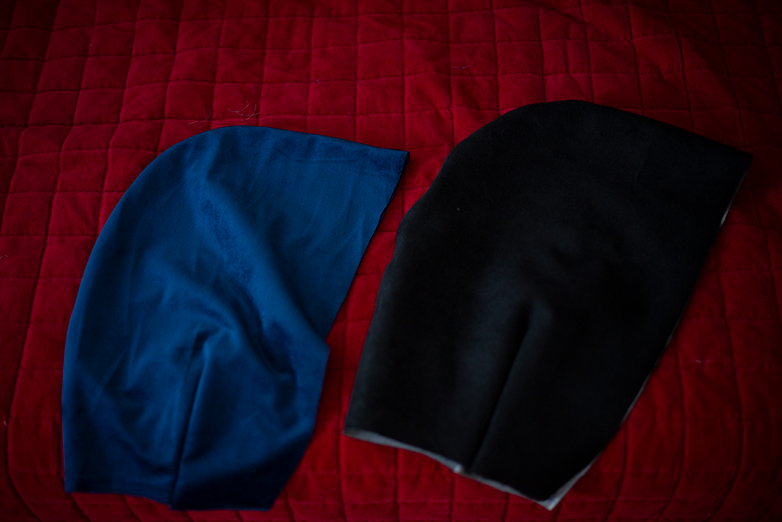
I made all the decorations on the outside and only then connected them to the inner part. After I sheathed the outer edge with a gold strip of fake leather.
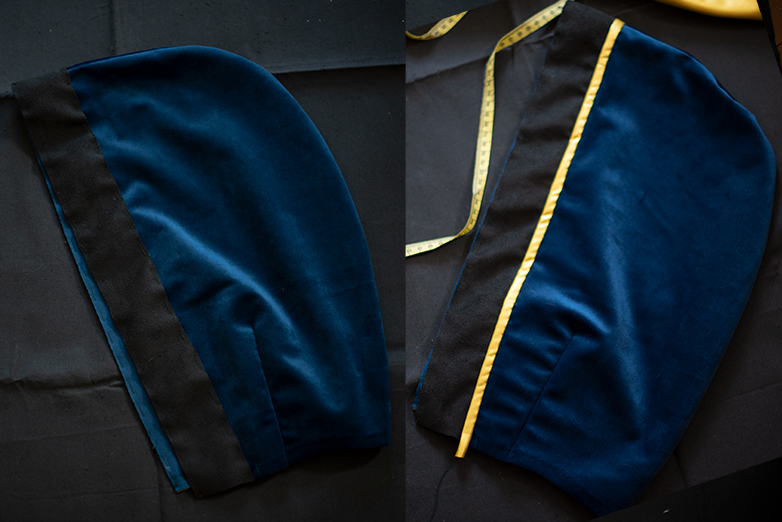
Cloak was made the same way: two parts, decoration, joining.
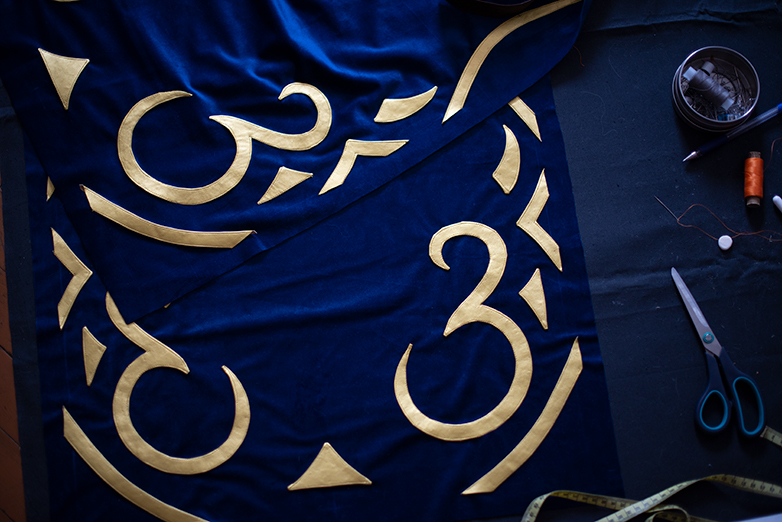
The height of the first detail at pattern is 24,2 cm. You need to extend the part to the desired length. The length of my cloak 92 cm.
The width of the cloak is bigger than the width of the hood. You need to sew the details so the numbers on their edges connected.
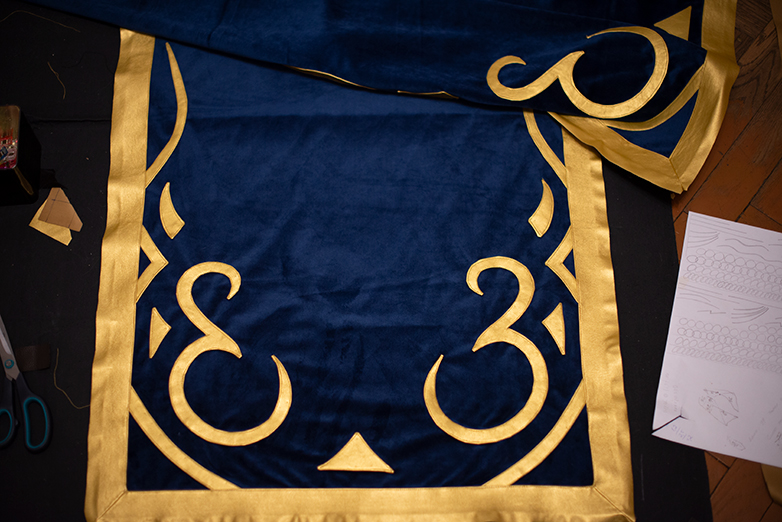
The distance between the decoration parts on the lower part is conditional. It depend on the size of your cape.
Note, I sewed to each detail the decorations and the edging. Only after that I sewed both sides of the cape to each other from seamy side. Then I turned out my cloak and stitched cape around the edge one more time.
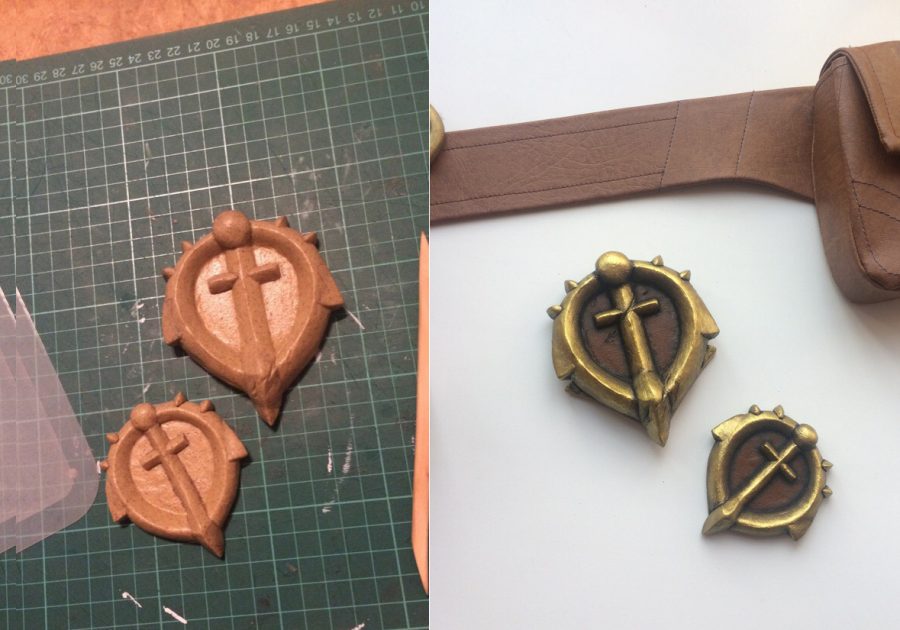
The buckle on the belt made of worbla analog, the base is 3 mm PVC. Painted with acrylic.
That’s all! If you have any questions you may leave them in comments below.
I hope this article will help you to create your wonderful cosplay. Good luck!


Comments