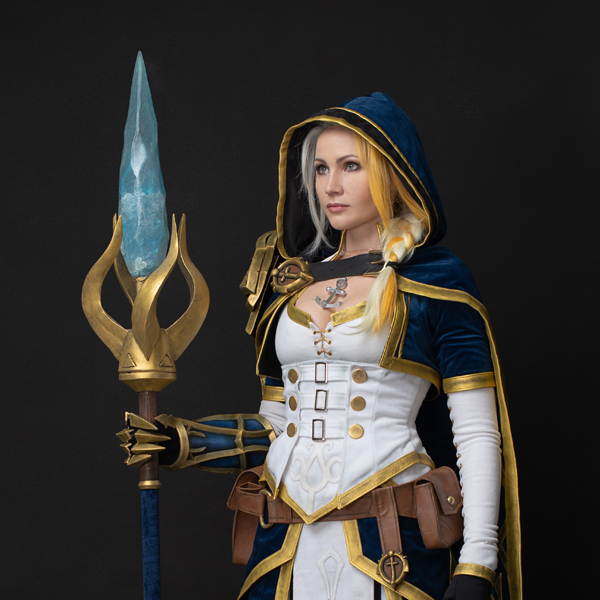
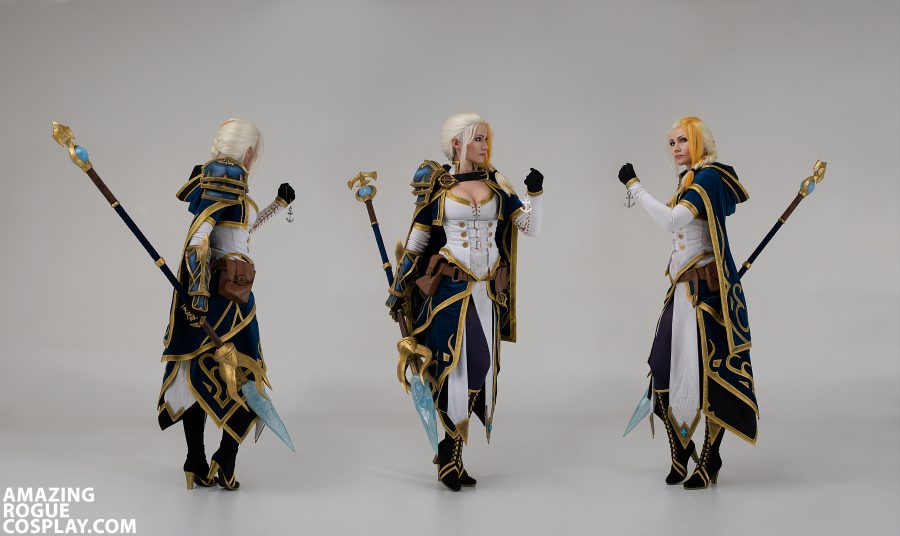
Lord Admiral Jaina Proudmoore costume creation. Part 2
Part 1 Create blouse, jacket and skirts
Bags
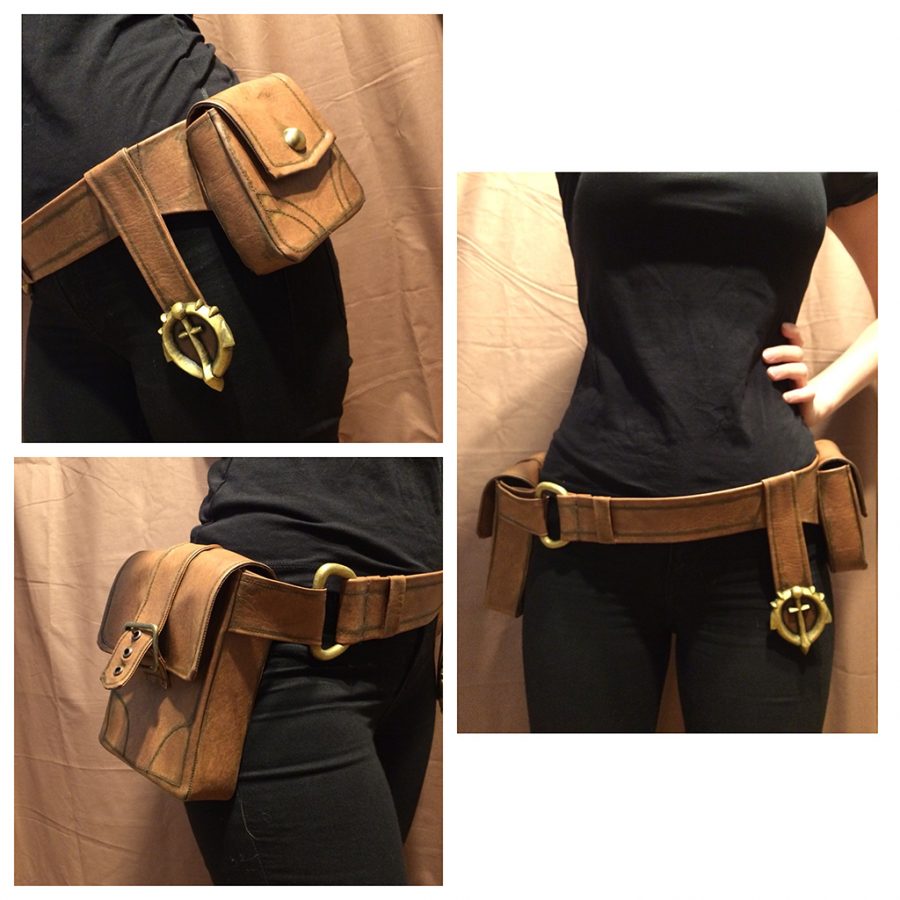
Made from faux leather upholstery fabric. I tried to make an exact replica of the belt, to make it as close to the original as possible.
The rings were made from worbla analog.
Brooch
Jaina’s got two of them: the bigger one on the coat and the smaller one attached to the belt. The brooch comes in the shape of an anchor (which is the centerpiece of Kul Tiras’s design).
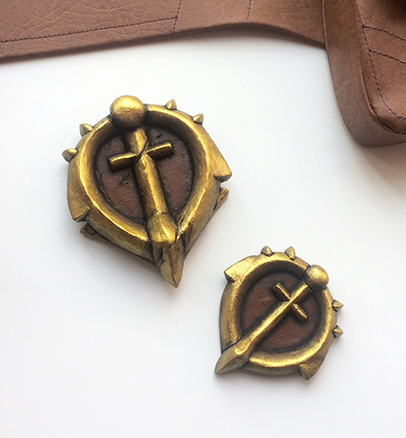
I’ve crafted quite a few of these brooches (I make them to order) and experimented with various techniques: I’ve tried PVC covered with worbla analog, Eva foam, have used worbla analog alone – everything does the job.
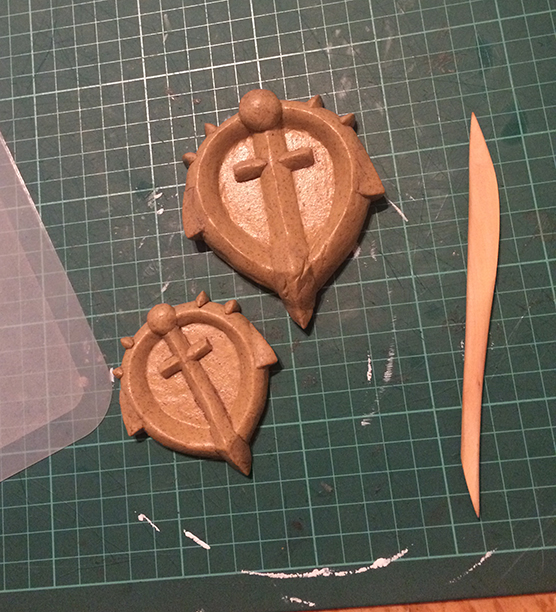
The brooches are glued onto the belt with an adhesive.
Tights
Dense nylon tights are your best bet for this costume!
Gloves
The pattern can be found here. This is my basic, go-to pattern that I use most often to make my gloves.
The claws were glued onto fingers with hot adhesive.
Boots
The easiest and fastest way is to just buy the boots of the required height. This is a relatively common and easy-to-use style (I went for black suede boots). Cut out a few golden strips and glue them onto the boots (the surest way would be to sew them on, though), then install the grommets and run the laces through them. Jaina’s fancy boots are now ready for walking!
I wouldn’t recommend using Eva foam as it bends and creases too much as you move around – the paint flakes and the strips may come off as a result.
My advice is to use golden artificial leather.
This pair I made to order
I used 6 mm grommets and made the lacing out of pieces of black artificial leather, gluing them to the inside of the boots.
The heel and the sole are overpainted with a golden acrylic paint.
Armor
The patterns for the pauldrons and gauntlets were posted a while back.
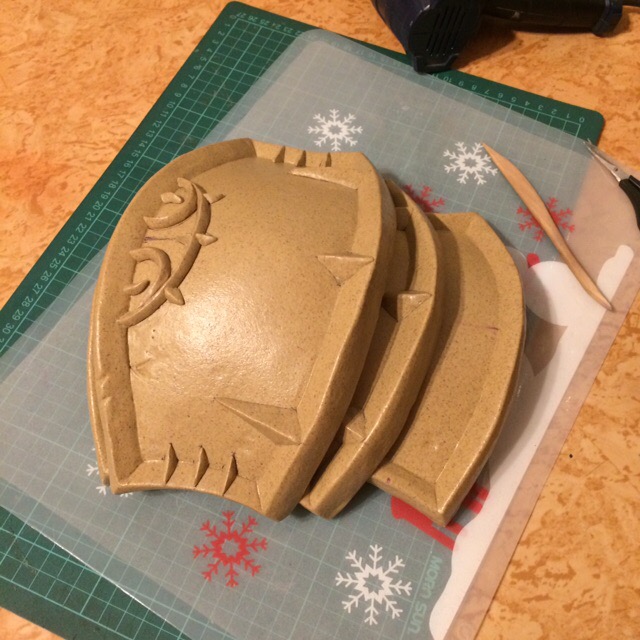
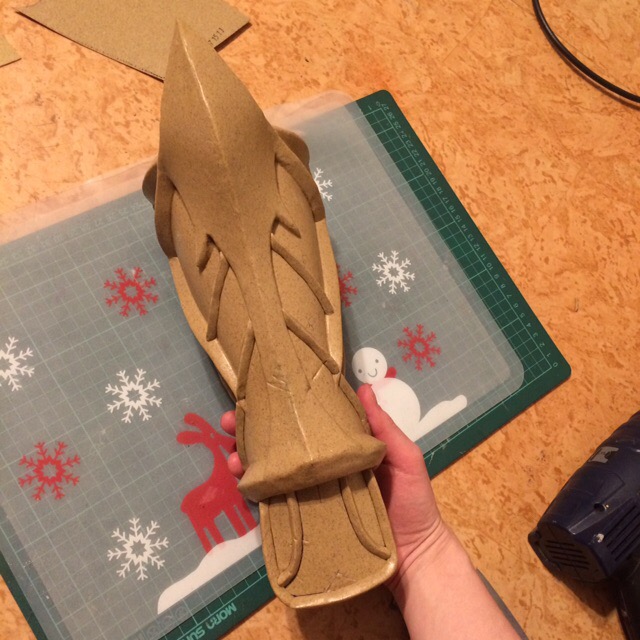
I used 5mm and 10mm Eva foam covered with worbla analog. It is optional, you’ll get a decent result either way.
The claws were made from foamiran covered with worbla analog.


The pauldron is attached to the coat by two large snap fasteners. This is the handiest way of all.
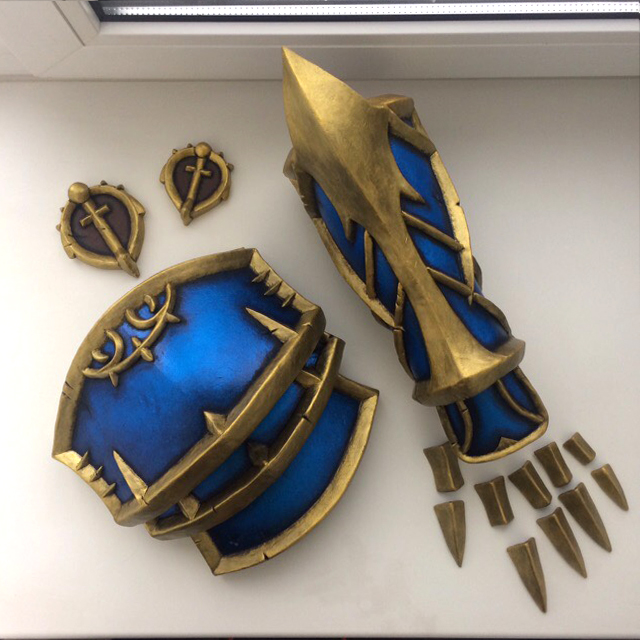
An example of armor kit, which I made for order
I make this armor to order so I’ve had ample opportunity to experiment with paints.
Staff
To make the staff, I used a wooden shaft sawn up across the center into two pieces, so that it could be easily assembled and disassembled. The pieces are braced together with a pin.
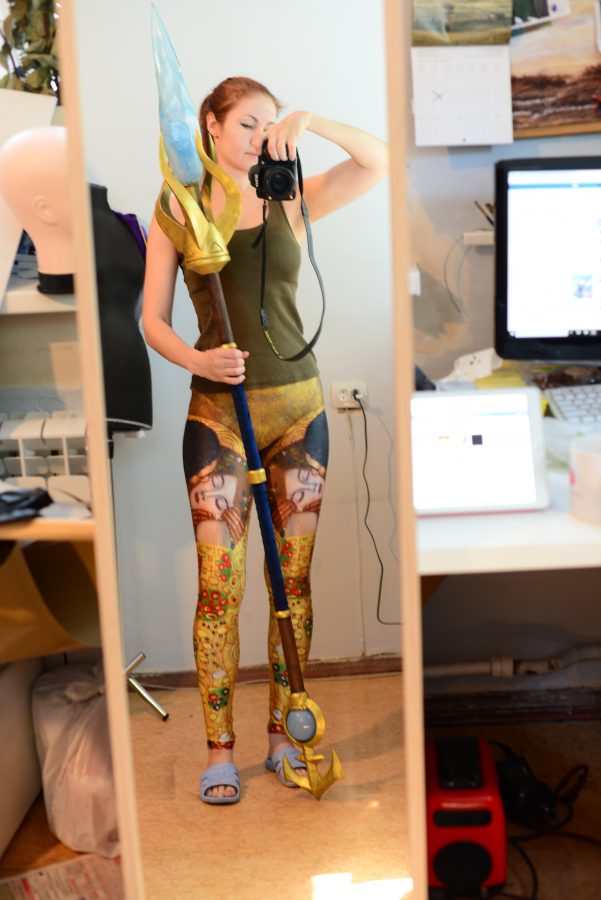
Blue parts are made of wood wrapped in velvet bands.
Wooden parts: the shaft was real wood but the surface didn’t quite fit the purpose as it was too smooth. What I did was cover it with a 2mm Foamiran foam sheet and cut some notches into it using a utility knife to imitate wooden texture and then blasted it with a heat gun to open the gaps up to make them look natural.
The base underneath the crystal was stacked from 10mm Eva foam sheets. The lower, conical part is made from Eva foam with a 70 shore density. It is hollow inside and is attached to the lower ring (also hollow) made of 10mm Eva foam with neodymium magnets. Concealed inside are the wires and the battery for the LED light in the crystal. The crystal is completely transparent so I decided to go easy on the magic and only used one big LED light.
Metal petals around the crystal are essentially elongated triangular pyramids stacked from several sheets of Eva foam. Once cut and sanded, I glued them onto the cylindrical base and then worked them into the desired shape with the help of the hot air gun. It took some doing but I think the result was very much worth the effort.
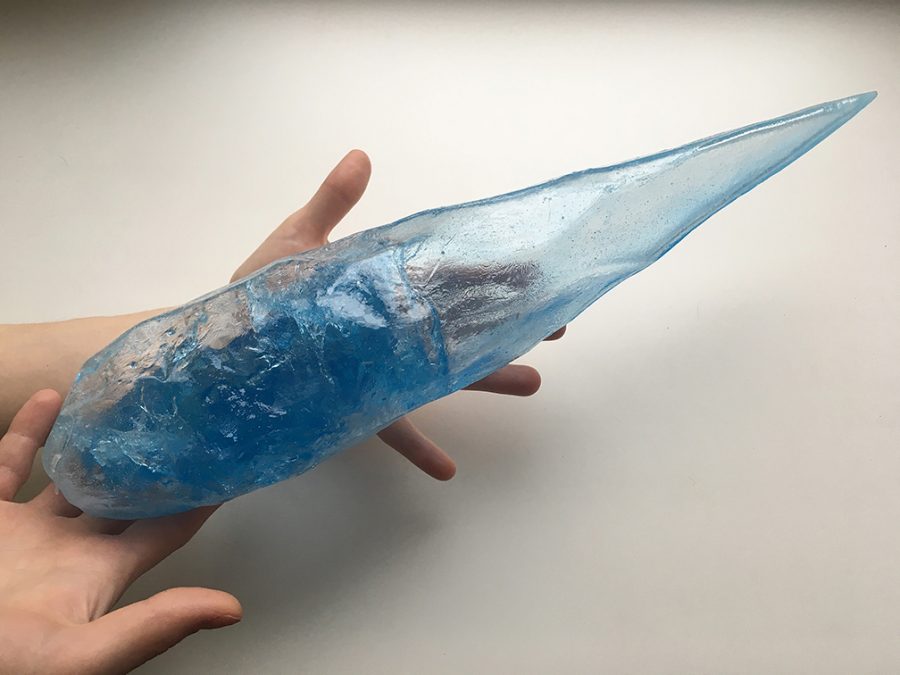
The crystal itself was cast from plastic using the rolling technique, which made it so light and transparent. The master mold was made from polystyrene foam – I covered the mold with acrylic glue and sanded it until I got the shape I needed. I must say I’m quite pleased with how both the crystal and the staff turned out.
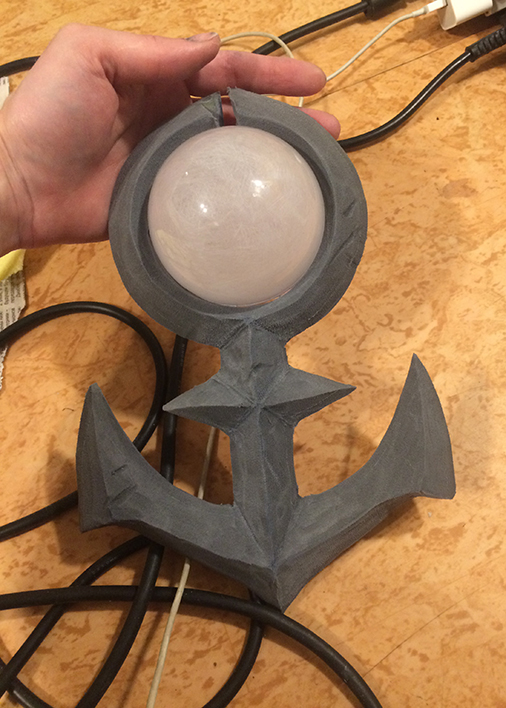
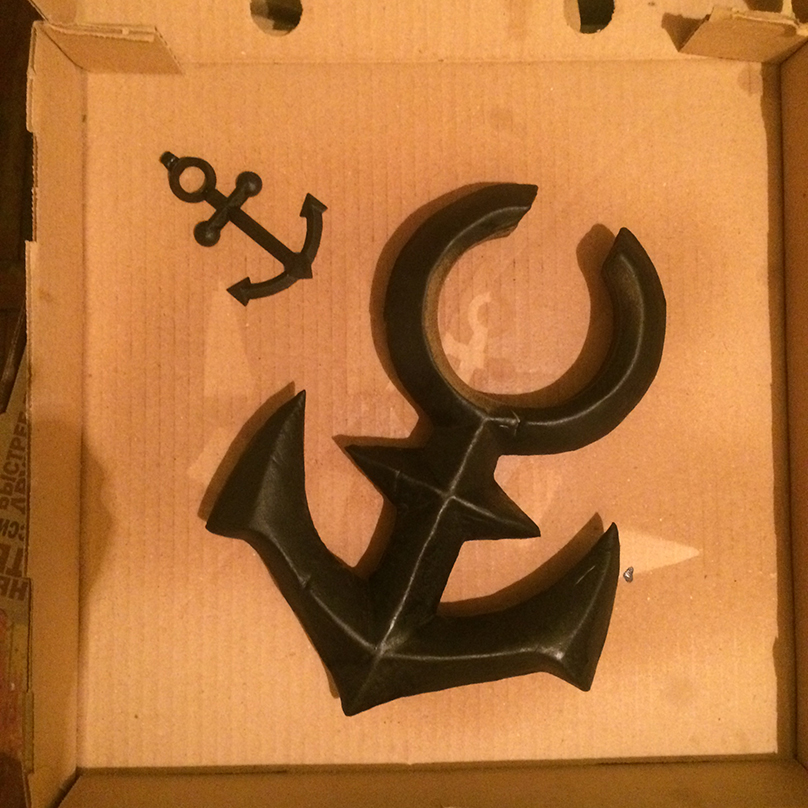
I used Eva foam covered with worbla analog for the anchor. The ball on top of it is a painted decorative plastic ball. No LEDs here –I think it complements the crystal well enough without illumination.
Well, that’s about it, I guess. Hope you found this article useful.
Don’t hesitate to shoot me a message if you have any queries or need my help with anything.
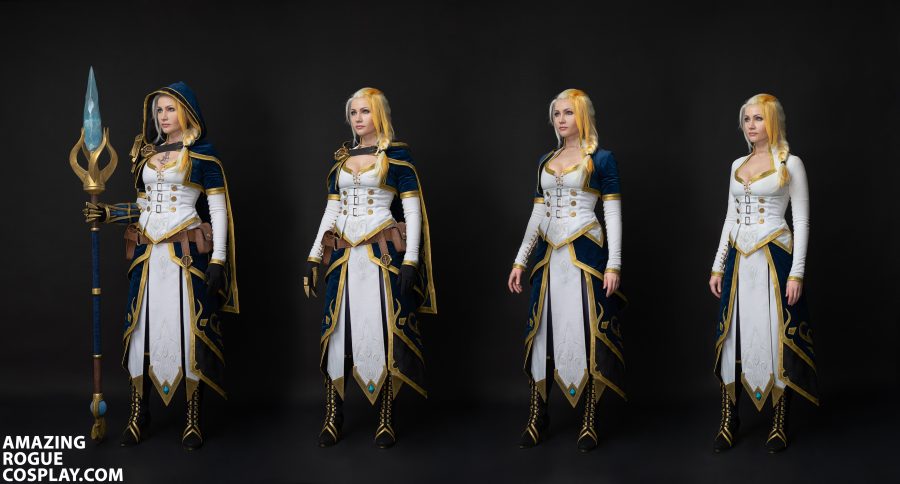
This Jaina’s outfit is amazingly beautiful and I am always happy when wear it or work on it. Yes, I taking orders to this costume (I made one for Jamie Lee Curtis, that was an unforgettable experience), if you want it – just send me a message on ARogue.Cosplay@gmail.com. The same way you can buy patterns kit for whole outfit.
If you want to see more photos, you can find them in Gallery.
By the way, I took part in BlizzConline in this cosplay:


